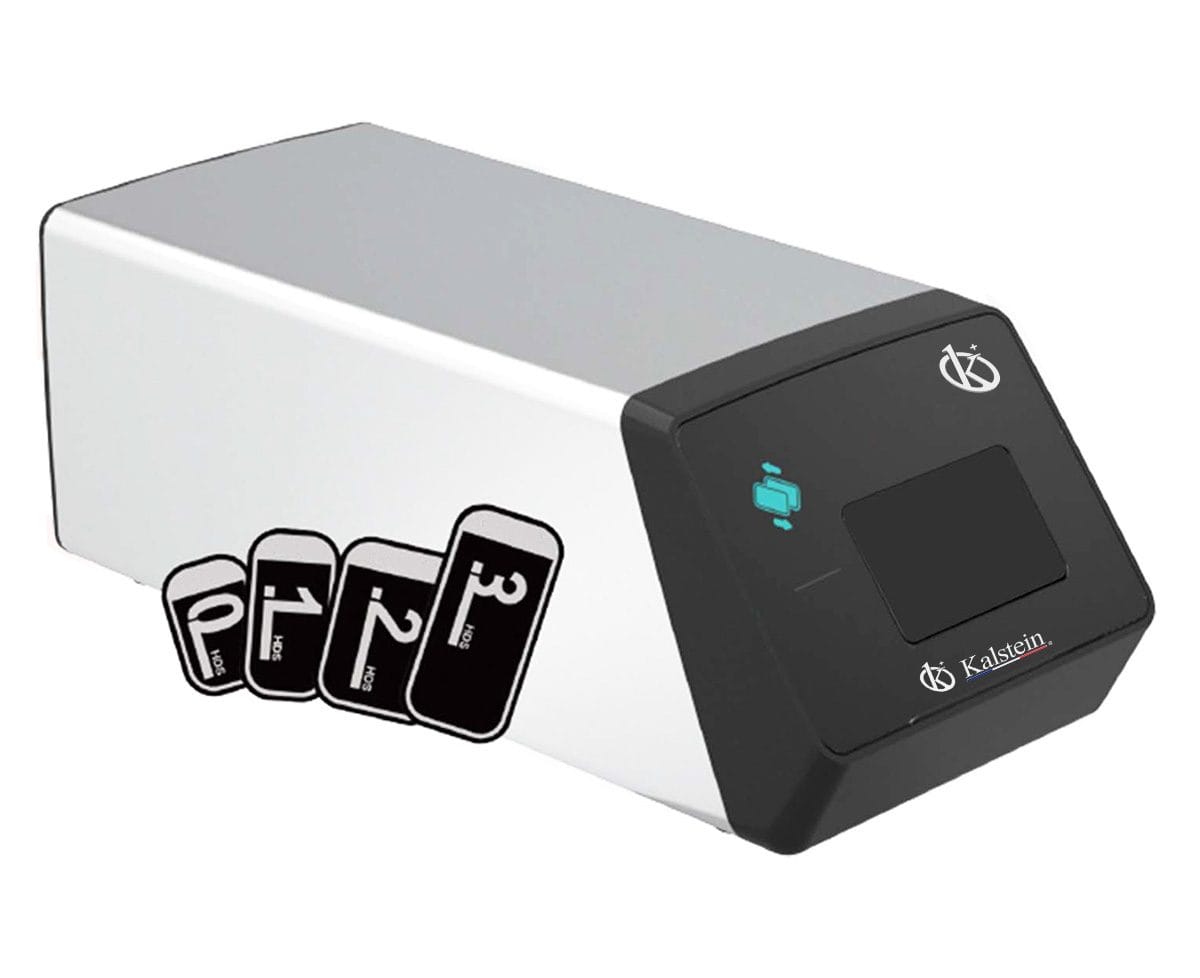
Installation and Startup Guide for the YR06197 Digital Intraoral Veterinary X-Ray System
The YR06197 Digital Intraoral Veterinary X-Ray System is designed for quick and efficient imaging in veterinary practices. This guide will provide a detailed overview of the installation and startup procedures to ensure optimal performance of your system. Understanding these processes is critical for achieving accurate diagnostic results and maintaining equipment longevity.
Unboxing and Initial Setup
Upon receiving the YR06197 system, it is essential to perform an unboxing checklist to ensure no components are missing. The package includes the following items:
- YR06197 Digital Intraoral X-Ray Unit
- Image Plates (sizes 0, 1, 2, 3)
- Charging Station
- User Manual
- Power Cord
- Carrying Case
Verify that all items are present and undamaged before proceeding to installation.
Anchoring and Leveling the Unit
For optimal performance, the YR06197 should be anchored and leveled correctly. Follow these steps:
- Select an appropriate location that is free from direct sunlight and has sufficient space for the unit and operator.
- Using a level, adjust the feet of the unit to ensure it is perfectly horizontal.
- If necessary, secure the unit to a stable surface using the mounting brackets provided in the package.
Power-Up Sequence
To power up the YR06197 system:
- Connect the power cord to the charging station and plug it into an appropriate power outlet (AC100V-240V).
- Press the power button on the unit to initiate startup.
- Allow the system to complete its self-check diagnostics before proceeding.
First-Run Calibration
Calibration is crucial for ensuring that the readings from the YR06197 are accurate. The first-run calibration process involves the following steps:
- Insert an image plate into the x-ray machine.
- Select the calibration option from the main menu.
- Follow the prompts to calibrate the tube voltage (60KV), exposure time (0.1-2s), and other parameters as necessary.
Once calibration is complete, you should receive a confirmation message on the display.
Common Setup Mistakes
During installation and setup, there are several common mistakes that operators should avoid:
- Failing to properly level the unit, which can lead to inaccurate imaging results.
- Overlooking the calibration steps, which are essential for accurate diagnostics.
- Connecting the power supply without ensuring it matches the voltage requirements of the device.
Technical Specifications Table for YR06197
| Specification | Details |
|---|---|
| Model | YR06197 |
| Tube Voltage | 60KV |
| Exposure Time | 0.1~2s |
| Tube Focus | 0.3mm × 0.3mm |
| Battery | DC14.8V 6400mAh |
| Charger Input Voltage | AC100V-240V:10% |
| Ambient Temperature | 5-40℃ |
| Net Weight | 2.5kg |
| Gross Weight | 4.8kg |
| Frequency | 30KHz |
Frequently Asked Questions
What are the installation requirements for the YR06197 Digital Intraoral X-Ray System?
The YR06197 requires a stable and level surface for installation, with a power supply of AC100V-240V. Ensure the ambient temperature is between 5-40℃ for optimal operation.
How do I calibrate the YR06197 for the first time?
To calibrate the YR06197, insert an image plate, select the calibration option from the menu, and follow the prompts to adjust the tube voltage and exposure time according to the specifications.
What common mistakes should I avoid during setup?
Common mistakes include failing to level the unit properly, skipping the calibration steps, and connecting to an incorrect power supply.
What types of image plates are compatible with the YR06197?
The YR06197 is compatible with image plates in sizes 0, 1, 2, and 3. These plates are crucial for capturing high-quality images.
How can I ensure the longevity of the YR06197 system?
To ensure the longevity of the YR06197, regularly calibrate the system, keep it clean, and perform periodic maintenance checks as recommended in the user manual.
What should I do if the system displays an error code?
Refer to the user manual for a list of error codes and their meanings. Most issues can be resolved by following the troubleshooting steps outlined in the manual.
Where can I request a quote for the YR06197?
You can request a quote for the YR06197 Digital Intraoral Veterinary X-Ray System on Kalstein Plus for competitive pricing and detailed information.
If you are looking for a fusion of innovation and quality, you have come to the right place. At Kalstein, we offer you the luxury of exploring our exclusive catalog of laboratory equipment. We manufacture every device to the highest standards of excellence. Our intuitive and seamless online purchasing channels are designed for your convenience, securing the most competitive prices. Hesitate no longer — we bring science to life, it is time to become part of our community.